My Coffee Journey

What started this post

This morning I made an impromptu piece of #coffeecontent that created a lot of #engagement from folks far and wide. Apparently folks are curious about making better coffee and I wanted to answer all the questions I received here.

Perhaps COVID-19 has prompted more people to look into making high quality coffee at home. This isn’t the first time I made a reference to my interest in coffee but for some reason this one really took off.

Gear

My coffee gear has been acquired over time. I first became interested in coffee when joining the workforce six years ago where drinking coffee was something that people seemed to do. That said, I quickly became disinterested in the industrial Burr coffee maker’s Folgers output and the would-create-brown-liquid-without-a-Keurig-cup approaches.

For a single cup, I recommend an AeroPress. It makes incredibly good coffee, is super portable, and costs 25-30 bucks. I’ll explain my technique later.

For more than one cup, I use a Chemex, a recent edition to my life. I used to just AeroPress back to back. The Chemex makes super good coffee and has some more ceremony which is always nice. I love watching the coffee bloom and release CO2 in the morning.

This summer, Rachel requested cold brew in the rotation. I got the Oxo Cold Brew dingus. I just follow its included brewing steps. 4 parts water to 1 part grinds for about 24 hours. I make my coffee by using 1 part concentrate, 3 parts water.

My water kettle is the Bonavita Gooseneck programmable kettle. This thing allows you to specify the temperature of the water, which is just as important with coffee as it is tea.

My grinder is a Baratza Encore. It took me a while to spend the money for it (130 or so), for a while I would get my beans ground when I bought them. However it was a good investment and does a great job creating a consistent grind size. You’ll find the deeper down the rabbit hole you go, the cheaper good coffee can get.

My kitchen scale is a Escali Primo Digital Scale. I mainly use it with Chemex. For the AeroPress I just use the scoop that came with it. I find it consistently gives me about 15 grams of beans, give or take a gram.

I just started to home roast and for that I use a 20 buck popcorn air popper. I first experimented with the one Rachel already had for popcorn, but bought the Sweet Maria’s recommended one from their website since its a different design that doesn’t require constant stirring. This is also where I get my beans. The popper comes with 4lbs of beans so its basically free since a pound of green coffee beans is about 5-7 bucks (much less than the 14-20 you’ll spend for pound of fresh local coffee). I plan to order another with my next shipment to parallelize my efforts. Sweet Maria’s provides a roast recommendation for each bean that you buy and I simply follow the instructions they provided with the Air Popper. They have a few supporting videos on their website you can watch too, if you decide home roasting is your thing.

Buying Beans

You probably don’t want to start your coffee journey roasting coffee. I never thought I would get into it until a friend of mine told me they started with an air popper and that it wasn’t that bad. I had always heard it wasn’t worth the hassle from those who had tried.

That said, don’t buy beans from the grocery store, unless they are local and have the roasted date on the packaging. Coffee is only fresh for about 2-4 weeks. Most of the stuff at the grocery store, no matter the cost, wasn’t roasted recently. Fun fact, the reason a lot of coffee in the store is darker roasts is because the freshness is less apparent since you’re mainly tasting those heavy roasted flavors and less actual coffee flavors.

I used to buy coffee from local Baltimore institutions like Zeke’s, Spoons, and Vent (my favorite). Silver Spring has less local options, but Nagadi is pretty good as is Bump ‘n Grind.

Rachel got me a gift of the Atlas Coffee Club a year or so ago. There are several similar ideas online but they mailed me a freshly roasted single origin (not a blend of beans) coffee at a set interval. It was a few bucks more than buying a local bag (19 per shipment) but I liked the convenience and variety, particularly since fresh coffee was harder to come by post move. I got to try probably 10-15 different country’s offerings from the program. I recommend this approach to learn the kinds of coffee and roast level you prefer. I like Kenyan, Ethiopian, and Columbian best and always a lighter to medium roast.

I just want to note that even if you buy a 20 buck bag of coffee, its still cheaper than a K cup, no matter how much bulk you buy in.

Brewing Techniques

AeroPress

For the AeroPress, I do the inverted technique. That link shows the general steps, but I have experimented and changed the values. If you wanna do the same, there is a cool app called AeroPress Timer that gives you various recipes. I heat my water to 176F, which is the AeroPress creator’s temperature of choice. This results in an instantly drinkable cup – I don’t like my beverages too hot. I grind the AeroPress Standard scoop of beans at the Encore’s 12 setting, which is relatively fine. I pour enough water to just cover the grinds, swirl it around using some “turbulence” (or just use the paddle) for about 15 seconds. Then I fill up the rest of the chamber with water. Attach the cap with a standard AeroPress paper filter and wait a minute. Invert, press into cup, and enjoy.

Chemex

For Chemex, I warm my water to 205F. This is within the Chemex recommended temperature range. Since it takes more time to make a Chemex cup, this temperature also results in an instantly drinkable cup. I do the 15:1 ratio with the Chemex, adding 15 parts water to each part bean. I use 15-20 grams of coffee per person at the 20 Encore grind size, which is more of a medium grind. I add a little bit of water to dampen the paper filter and heat up the device before putting the grinds in. I swirl the water, pour it out, and then start my measurements using the kitchen scale. Once the water has pretty much finished going through the grinds, you can throw out the filter and pour your coffee into a mug to enjoy.

Japanese Iced Coffee

I was introduced to the concept of Japanese Iced Coffee in June and it was a go to recipe to use instead of cold brew in the summer. I thought the taste was a bit more punchy than cold brew, but it might have been the beans I was using. I followed this recipe.
Roll the Bones

Why are we here? Because we’re here, roll the bones

Neil Peart

Today I had a longer commute to work than normal because of some errands I had to run. After listening to enough podcasts for one morning, I turned to some music. For some reason, I wanted to hear Rush’s 1991 Roll the Bones album. In retrospect, it was the perfect listen for the day.

As I air drummed my way into the parking lot at work, I knew it was my second to last day at a workplace I have simply loved. It’s still weird to say it – but tomorrow is my last day at Johns Hopkins Applied Physics Lab.

I wasn’t looking for a new opportunity. I joke a golf ball blasted through my window. Once the opportunity presented itself and it became real, I decided I had to go for it. If not now, when?

On Monday I start at Microsoft in Reston, Virginia. I’m excited to sink my teeth into the unique technical challenges they’ll present.

It’s not easy to leave the incredible people I’ve worked with each day at APL. Tomorrow we’ll wrap up a delivery that’s years in the making. I’m proud of the way the team rallied despite a worldwide pandemic.

Before I wrap a bow on this journey, I wanted to acknowledge the people that made this experience so memorable and fulfilling. Emily, Stephen, and Danny – thanks for each encouraging me in your own way to join APL. It was everything you said it would be and more.

Shogun and Chum, I’ll never forget our divergence into mechanical watches during my interview. You both treated me so well over the years. I grew a ton and appreciate all the opportunities you gave me.

Matt, thanks for being my confidant during many decisions, including this one. I admire your jovial approach to professionalism.

And lastly Kris. I don’t know what to say. Best tech lead ever? Thank you. Thanks for always knowing where my head was. Thanks for sharing your stories. Thanks for your leadership. I’ve learned a ton and I’m sorry to go. It’s been a lot of fun.

A lot of folks told me to enjoy the greener pastures. To them I said, it’s just pastures. I truly don’t know if I will enjoy any workplace as much as I’ve enjoyed APL. Why does it happen? Because it happens, roll the bones.

Where are HairPods?

While listening to episode 280 of Upgrade on vacation, I think I figured out why we still haven’t seen an Apple branded over ear headphone while Beats has released what many would assume the technological equivalent.

My hunch is that Apple wants to make a statement about these studio grade headphones and that technology isn’t ready yet. Latency.

As someone who edits audio using AirPods and AirPods Pro regularly, I can tell you the latency, while improving, isn’t ideal for most of the podcast editing I do. That said, it is not that big of a deal and the conveniences of AirPods make it worth it. However with professional music applications and studios where mobility isn’t a primary concern, the technology isn’t there yet.

I think when Apple does release an over the ear headphone, they will embrace its ability to be used in professional studio applications because of a latency breakthrough.

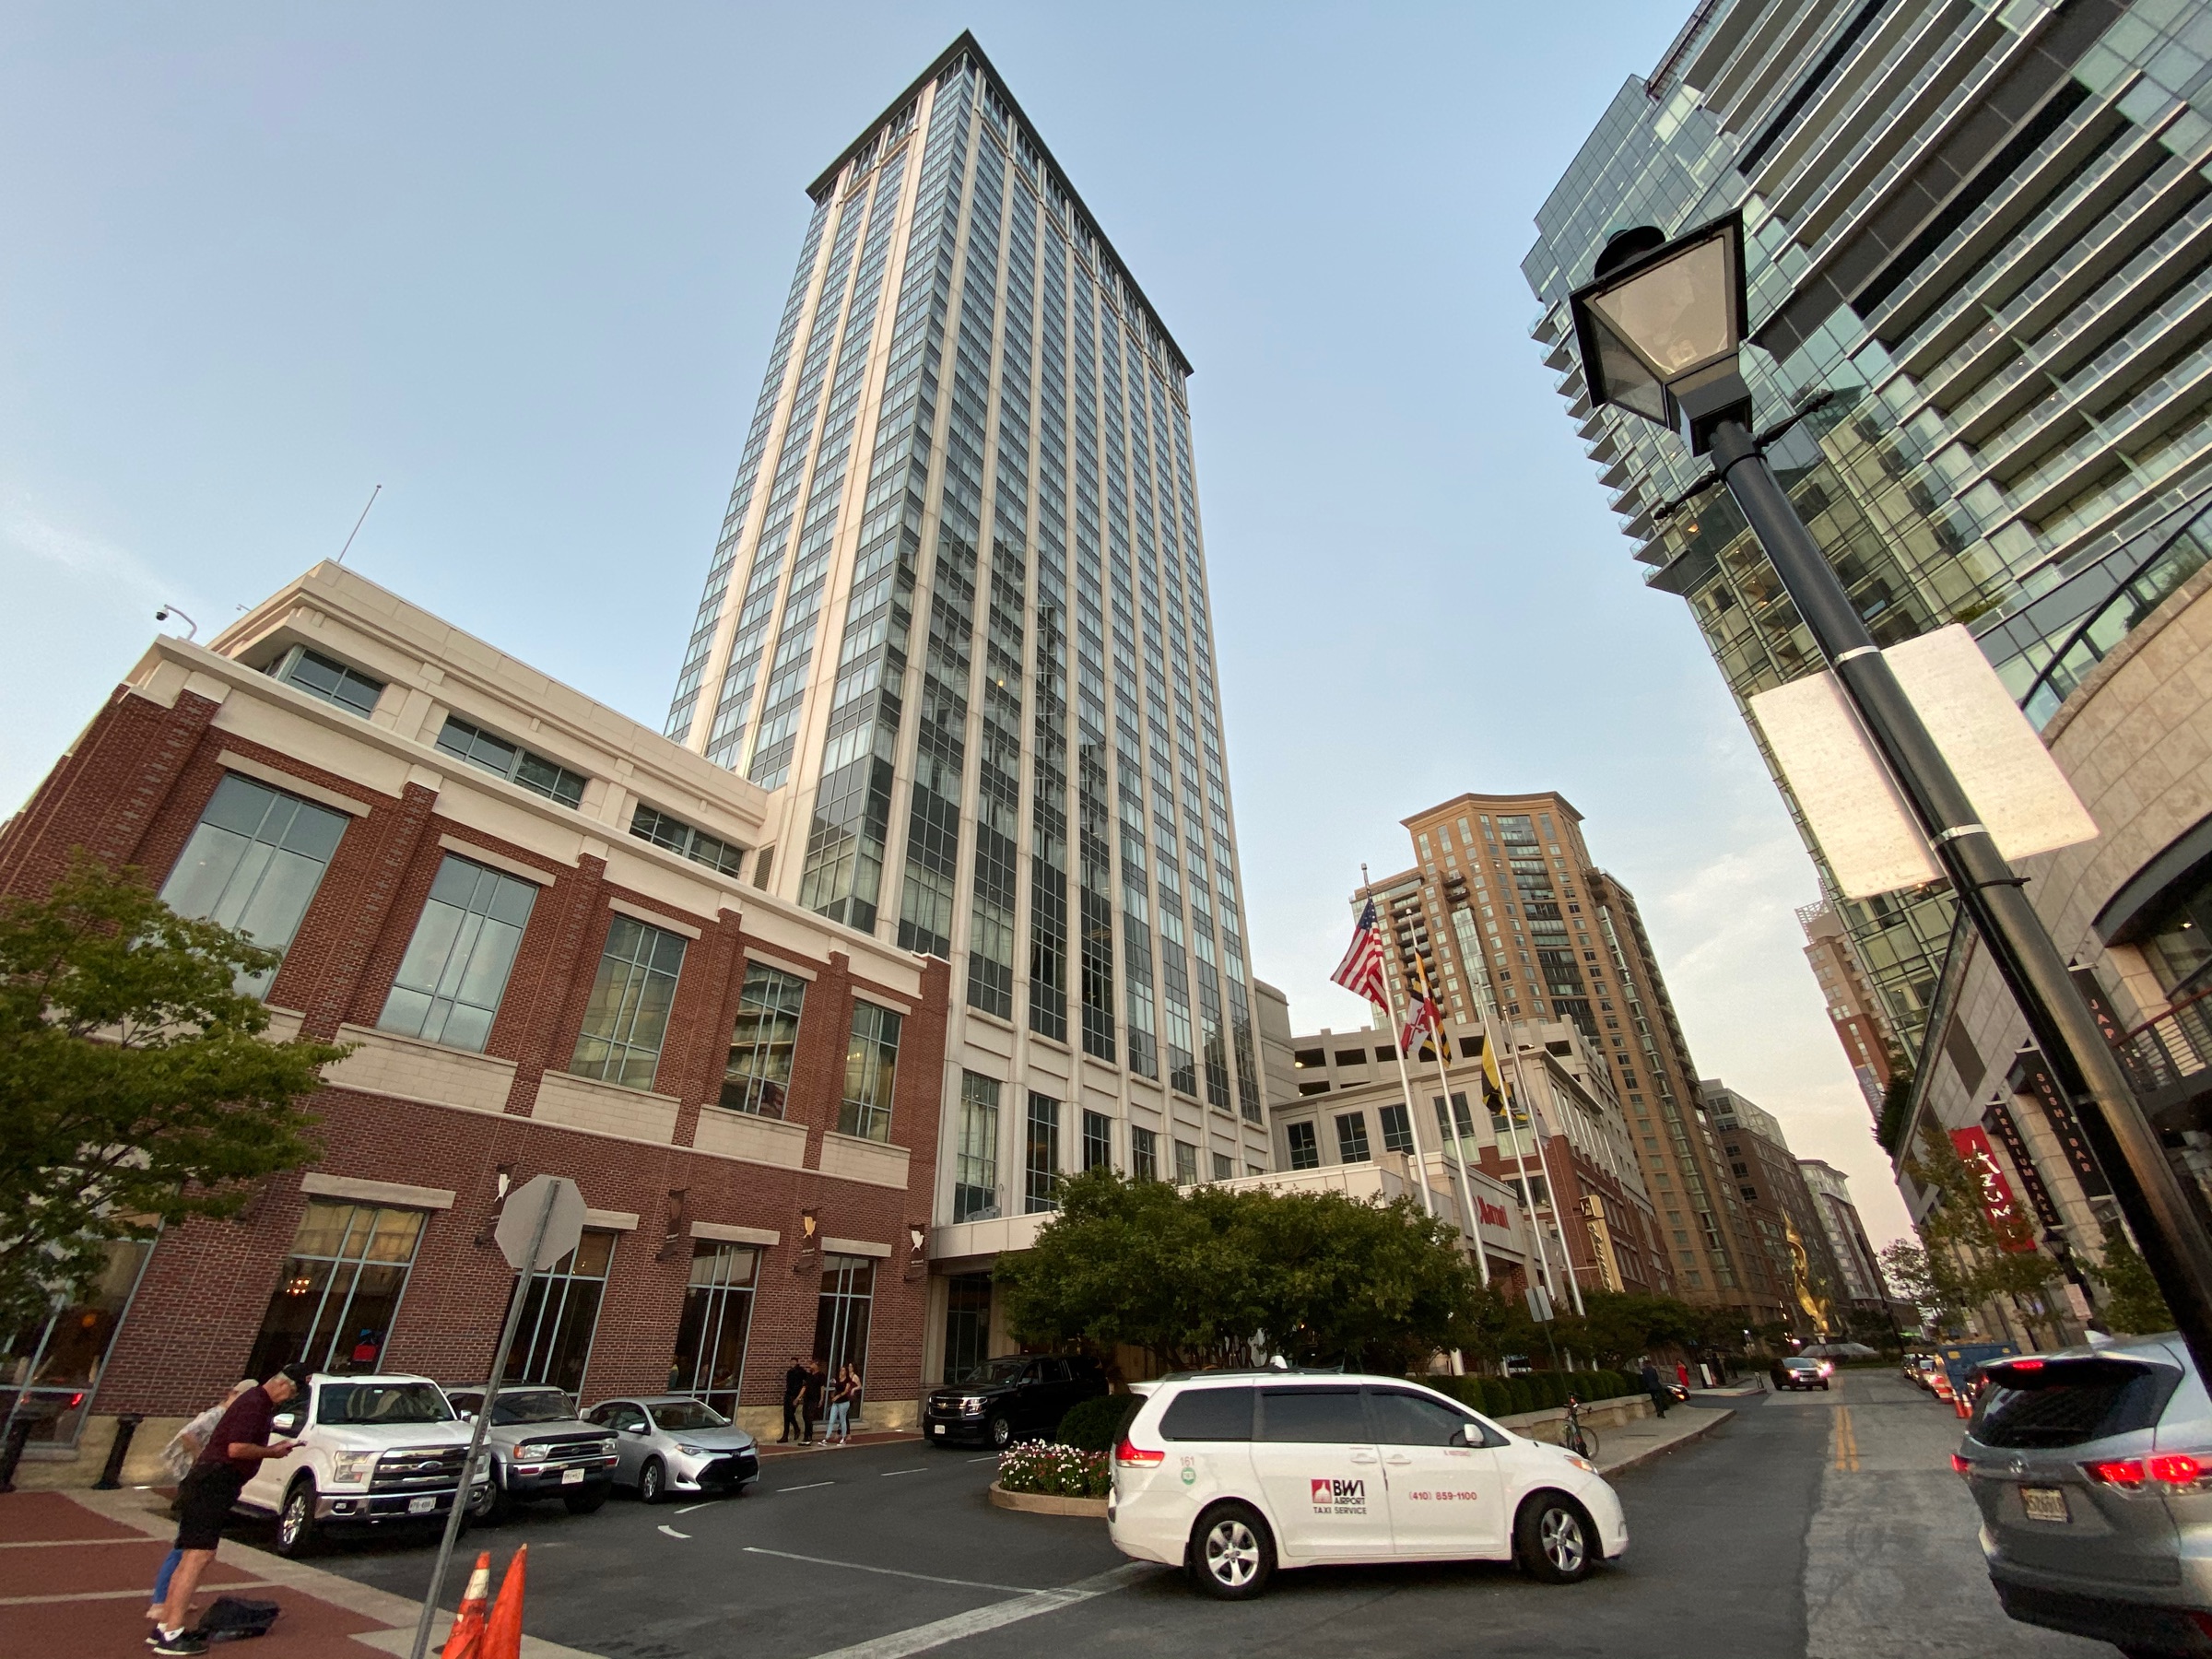
Some photos I’ve captured in the last few days with iPhone 11 Pro Max.

Night mode.

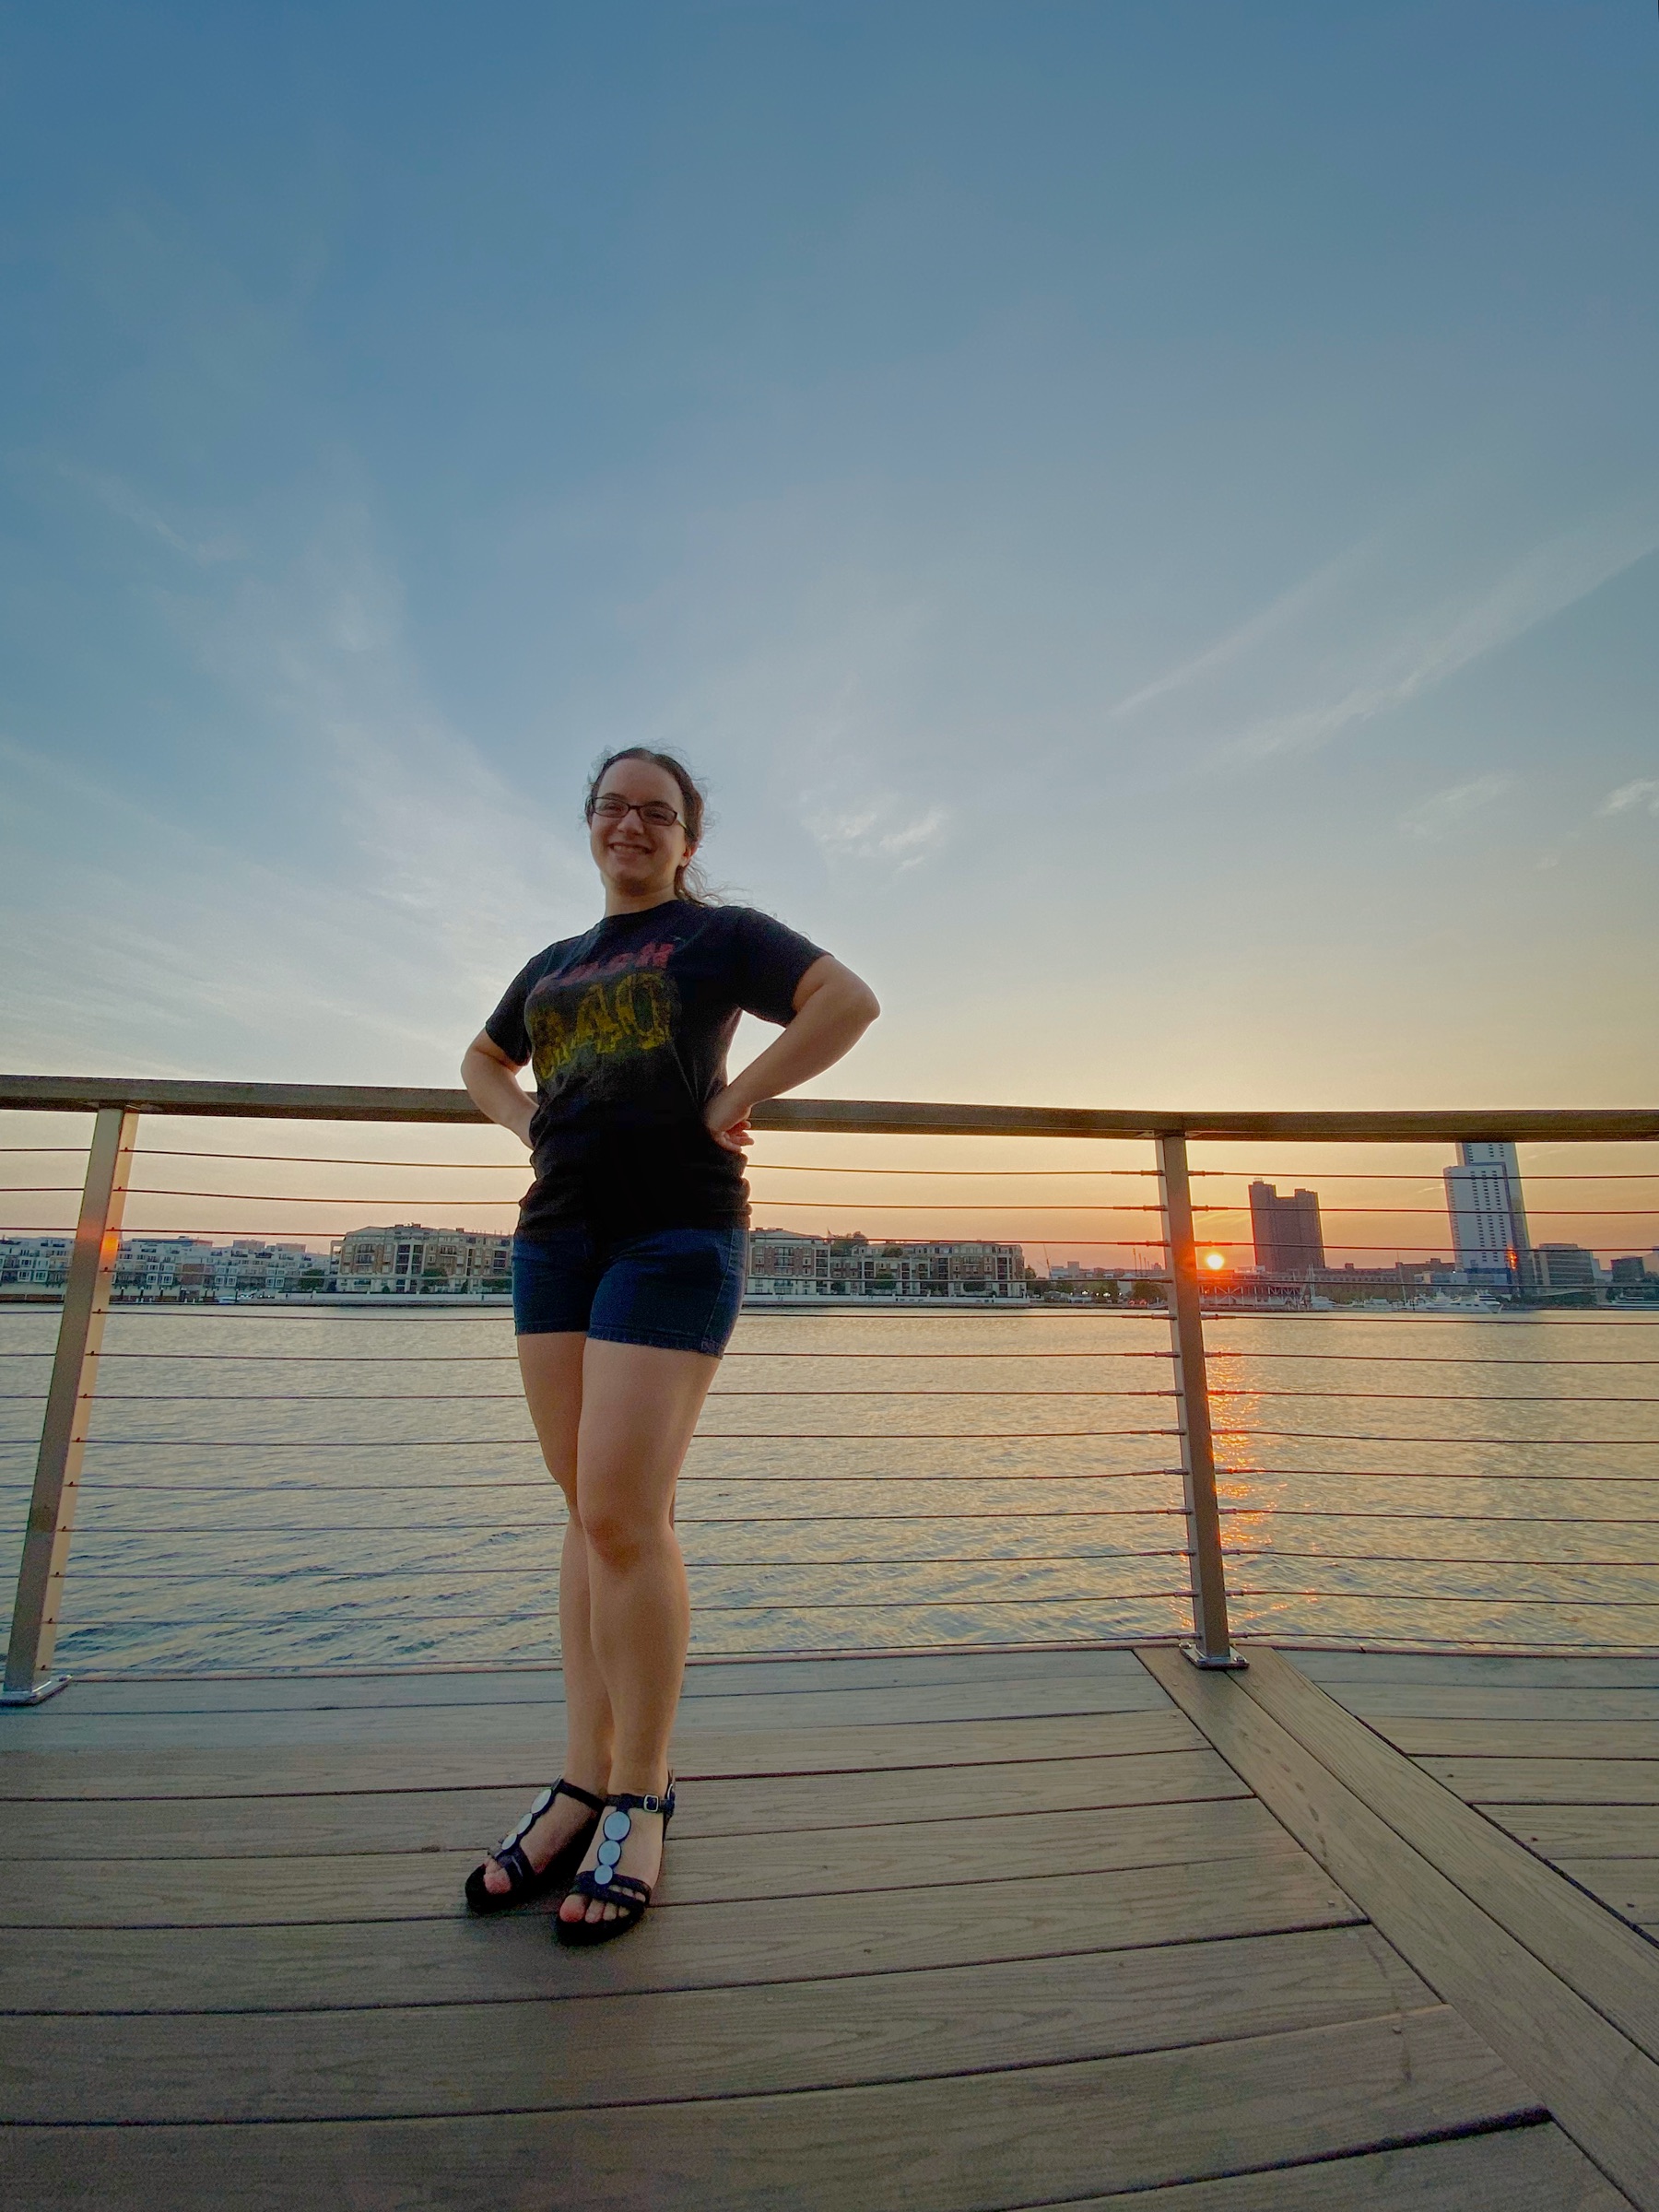
Pre-Alter Bridge concert sunset and city photos.

Starting a Podcast: Recording with a Cohost

So you have your gear, now its time to record a show. If you are doing a solo podcast, its pretty easy. Just open up Audacity or QuickTime and start to record. However if you’re recording with a cohost, things are a touch more complicated.

If you are able to record in the same room as the other person, that might be the best option as you’ll get more natural conversation. If you do so, remember that podcasts are an audio medium and the visual nature of your conversation will not be seen by your audience. Also make sure you record in such a way where there is little to no bleed over of each others voice in the other person’s microphone. If there is and you have any crosstalk it can make for an echoey mess.

For many shows however, recording in person is impossible or impractical. For those shows its best to get on some sort of conference call. You can record you call with apps like Call Recorder for Skype. Skype also lets you record the call in the app, but it comes as a single file which makes editing difficult since crosstalk is impossible to separate and its much harder to correct for any volume differences between hosts. Call Recorder will give you your voice on one track and everyone else in the other. So for shows with more than two people, it’s also not the best option. Whenever you record Skype, you are susceptible to call drop outs and degradation of quality. For that reason, I highly recommend not recording Skype for anything but a backup or syncing purposes.

What I do for all my shows is a double-ender, meaning each person records their own local track and sends it to the editor. The nice thing about this is that everyone’s recording is direct from their microphone, with no loss in quality. In order to sync everyone’s track, I start the call by counting down 3, 2, 1 and everyone claps. This isn’t a perfect method because of audio drift between computers, but in my experience its pretty reliable. If audio drift is an issue, you can try putting multiple sync claps in a recording or using a recording of Skype to sync to.

I hope this helps you start to record your podcast with a cohost. When I added Chris to The Prog Rock Block, the show became far better and more fun to make. So find yourself a cohost and start your podcast!

Starting a Podcast: Mic & Room Setup

After announcing my new business, I got a few requests for tips on how to get started with a podcast. In this post, I will cover picking a microphone, mic technique, and how to prep your room before recording.

Microphone

I encourage you to check out Marco Arment’s mega review of podcast microphones. If you’re just getting started, I’d personally recommend getting the Audio-Technica ATR2100. It’s a dynamic microphone, meaning it won’t pick up nearly as much room noise as a condenser microphone. It also is a USB microphone, removing the need for a XLR interface. That said, the ATR2100 does have a XLR input as well, making it a versatile microphone if you ever get a mobile recorder or a mixing board. I recently moved to this microphone myself.

Before switching, I used a Blue Yeti. Back when I got it over 6 years ago, there weren’t nearly as many microphone options as there are today and I wanted it for a variety of purposes including music recording and in a shared environment. I also wanted it to work via USB so I didn’t need to lug around my audio interface (I primarily used it away from my desk). If I just worried about recording podcasts, I wouldn’t recommend it. It’s a condenser microphone so it picks up even the smallest sounds. That said, my podcast cohost Jun chose it just last year since he also wanted to record music. You can get great sound out of it if you use good mic technique and set it up in a good environment. Speaking of which…

Mic Technique

Check out Dan Benjamin’s video on microphone technique. Around 4:30 he discusses microphone technique, however I recommend you watch the whole video if you want to learn more about microphones and how to set them up. I personally recommend you get a pop filter and a shock mount for any microphone you use. Pop filters reduce plosive sounds while a shock mount will reduce sounds from vibrations in the room, such as hitting your desk or moving the microphone. I have my microphone mounted on a boom so that its comfortable to speak into the microphone with proper technique. Both microphones I recommended come with desk stands, but you’ll find they are too low to use with good technique. I’ll warn you the Yeti can get expensive to mount, unless you rig it up like I did (would not recommend).

Room Prep

You want to make sure you record in a low echo environment. Some podcasters will joke that you should record in a closet for the best sound. Since I record in a carpeted extra bedroom, I haven’t had to worry much about dampening the room to reduce echo. However, you might find yourself wanting to add soft materials to the room if you find it to be echoey. You can buy acoustic tiles or I’ve even heard of people putting some blankets near the walls to help.

Hope this post helps you get started with your recording set up. Next up, I will share with you how to record a podcast with a cohost.

2018 Resolutions Review and 2019 Resolutions

2018 was my first time documenting, and in many ways even creating, yearly resolutions. To start 2019, I want to look back and see how I did and make some goals for 2019.

My first resolution was to stick to a budget. As I mentioned in my mid year review, after proposing, budget tracking became a team sport. I think we did really well this year. We reached our savings goals and gathered a lot of data about how we spend money. Our 2019 budget includes a few new lines that take some of the miscellaneous purchases like gifts and gives them their own trackable budget.

I did cook more and eat out less this year, but there is still room for improvement. I think this goal will be a several year process. One challenge is our desire to try many local Baltimore restaurants while still cooking for ourselves and sticking to our budget. Late this year we decided to make a dedicated date budget that we had to use each month to make sure we take the time to go on dates, even when our schedules get particularly busy. That budget item has helped us explore our city a bit more.

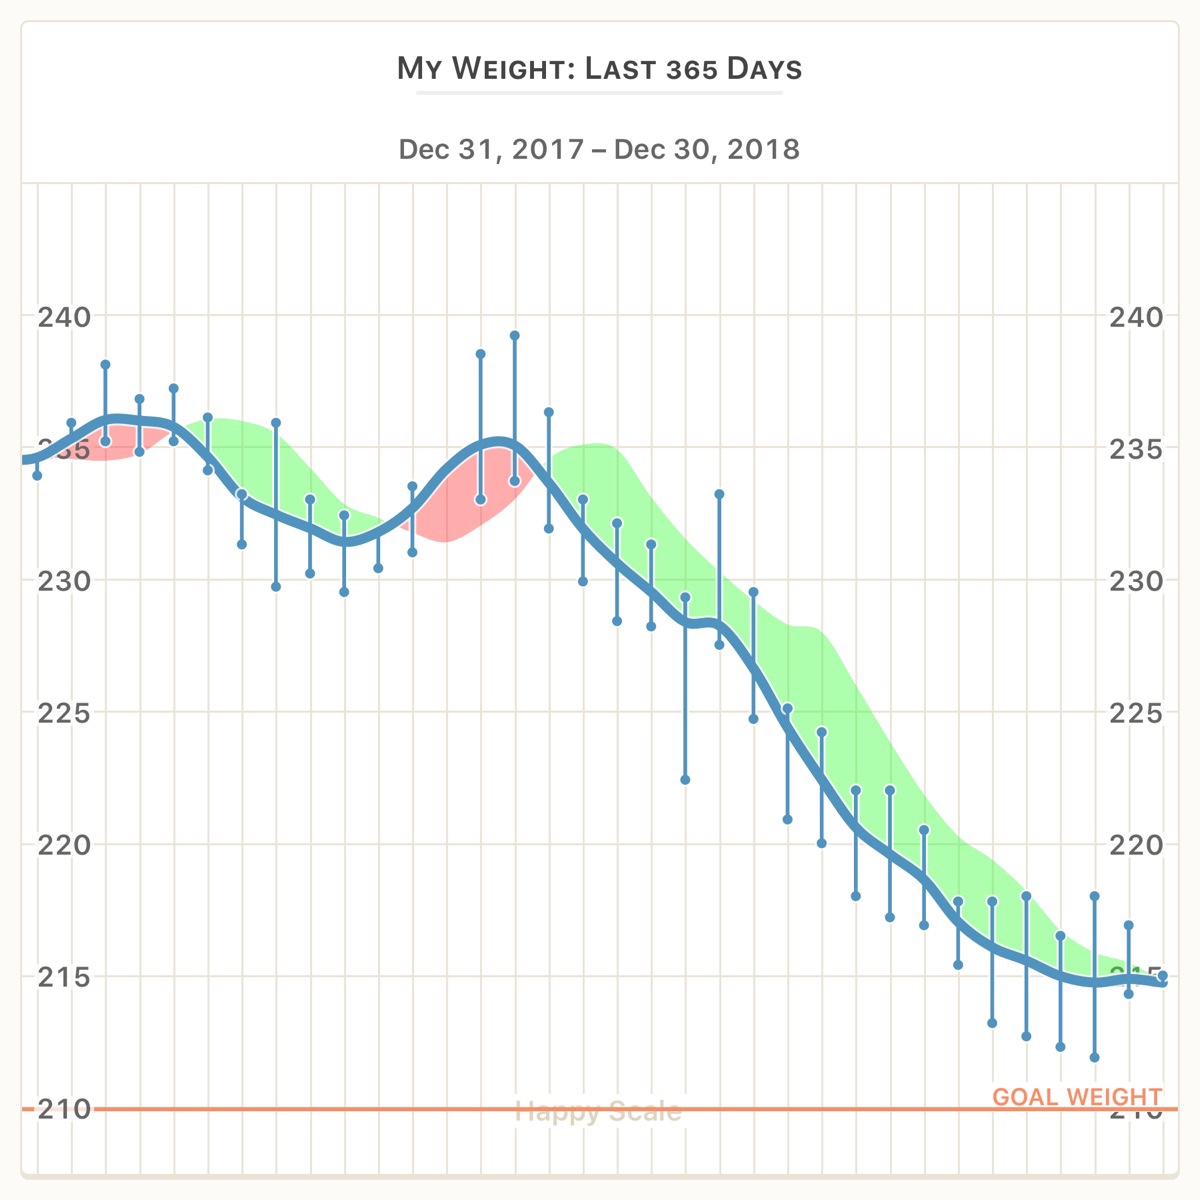
Here is a graph of my weight loss in 2018.

I use Happy Scale to track my weight loss

As you can see, the second half of the year was really great, and around the holidays I tailed off. I didn’t reach my goal of dropping 24 pounds, or 2 pounds every month, but I did lose 20 and am very happy about that. As we discussed in the latest episode of Overanalyzed, I experienced some injuries near the holidays and overall lost my rhythm, but I am making strides towards continuing with this goal in 2019.

I mentioned in my mid year review that I was no longer going to focus on creating an iOS app this year but I was doing some iOS development at work that was scratching an adjacent itch. Unfortunately, that effort simmered out shortly after posting as other more pressing things were put on my plate. I’m not sure how iOS will fit into the 2019 plan.

Overanalyzed is doing well and I’m excited to see how it will grow in 2019. We are on iTunes and releasing regularly.

Now onto 2019. In the spirt of Cortex I have decided to give 2019 the theme of Creativity. I want to create more in 2019, be it music again or continue to expand Overanalyzed. This goal will really kick into gear after I finish my masters degree in May. I’ve really enjoyed the last month or so of not having coursework to worry about and am excited with what I can do with that new found time.

  1. Finish the year with a weight that starts with a 1. Currently I am at 215 and the lowest I was in 2018 was 212. I can’t wait to see a 1 in front of that number. 199 would honestly satisfy me immensely, but I think losing 20-25 pounds again would be the true goal. Weight is really just a number; how I feel is the most important metric.
  2. Bike 3 new trails this year. I’d like to do a whole lot more than 3, but I want to bike more and experience more areas.
  3. Release 24 episodes of Overanalyzed. I’d love to really do 26 and never miss a fortnight, but I acknowledge that might not be possible. I am allowing for 2 vacations to satisfy this goal.
  4. Play the bass again. I’m not sure if a band is going to be realistic, but I do want to get my chops back and be ready if the opportunity presents itself.
  5. Accelerate debt payoff. In the 2019 budget there should be some extra money and I want to use that to pay off our student debts at a faster rate than just the minimum payments we’ve done thus far. The end goal is to be “debt free” by 2022.
  6. Learn more about photography. I feel like I know the fundamentals, but I really want to learn the nuances of the art in 2019. I’d also like to get better with my editing skills. I’ve always contemplated taking a picture a day for the whole year, but that is a lot of overhead. A weekly shot or so would be far more achievable and a place to start. I think the biggest transition is getting in the mindset to shoot more.