
Please consider donating to my 2025 St. Jude campaign. This year I’m offering photography tips, a bag of roasted coffee, and mini family photography sessions if you’re in the Baltimore / DC area. https://tiltify.com/@apulianas/amps-st-jude-fundraiser-2025
Neat Things
If you’re looking for something neat today, look no further than Caleb Denison’s return to YouTube after his legal dispute with his former employer and my appearance on Derek Likes Sports where we discuss the very sad loss the Ravens had with a Bills fan along with other NFL Week 1 happenings. I come in at 48:30 but watch it all!
To follow up on the fire John Harbaugh thing – I find it fascinating that many other Harbaugh supporters flipped after that game, many of which I really respect. To clarify, I’m not expecting or wishing he gets fired this year – I just need to see signs of him improving in game logistics for me to support him again. I worry maybe he’s not progressing with the times of where the league is going. He seemed to be doing so in 19-21 but a regression has occurred in the last few years. Jake Loque has been calling for a common sense czar and I’m here for that as well and mentioned very similar in the discourse that transpire on Bluesky.
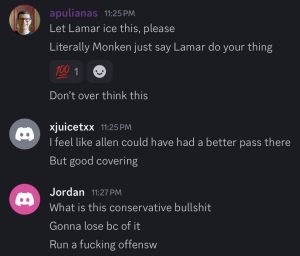
Fire John Harbaugh.
I don’t say this lightly, but I have seen enough. He is too conservative in games, no wonder he rubs elbows with Donald Trump. So many inexcusable mistakes, including not going for two to make it a potential 3 possession game and the horrid 2nd down call in the final offensive possession. And to make it worse, they elect not to go for it on 4th down. They so desperately want to not lose rather than win. I trust Lamar and Henry read option and it was not used in the highest of leverage.
🍿
I’ve got a lot of stuff I wanna write about that have nothing to do with this but in the meantime, something to munch on.
Bye Blue
After complaining about the Blue app (what Meta calls Facebook internally), I decided for the first time in my mobile phone history to remove it from my homescreen. With my new found slot, I finally set up Tapestry and boy oh boy am I loving it. RSS, Bluesky, and Mastodon all under one roof! Should have done this months ago when it launched in February. Reminds me of UberSocial back in the Blackberry days over a decade ago.
And no, I couldn’t remember the name, but ChatGPT did. It also moved up to my first homepage from the second today since Ice Cubes felt redundant with Tapestry. Locket backfilled the ChatGPT spot so that maybe I remember to use it more, but I could see that changing.
A Little Mid-August Recap
Man, the last month has felt like a bit of a whirlwind and I’ve got a few things I want to post about so let’s jump right on in.
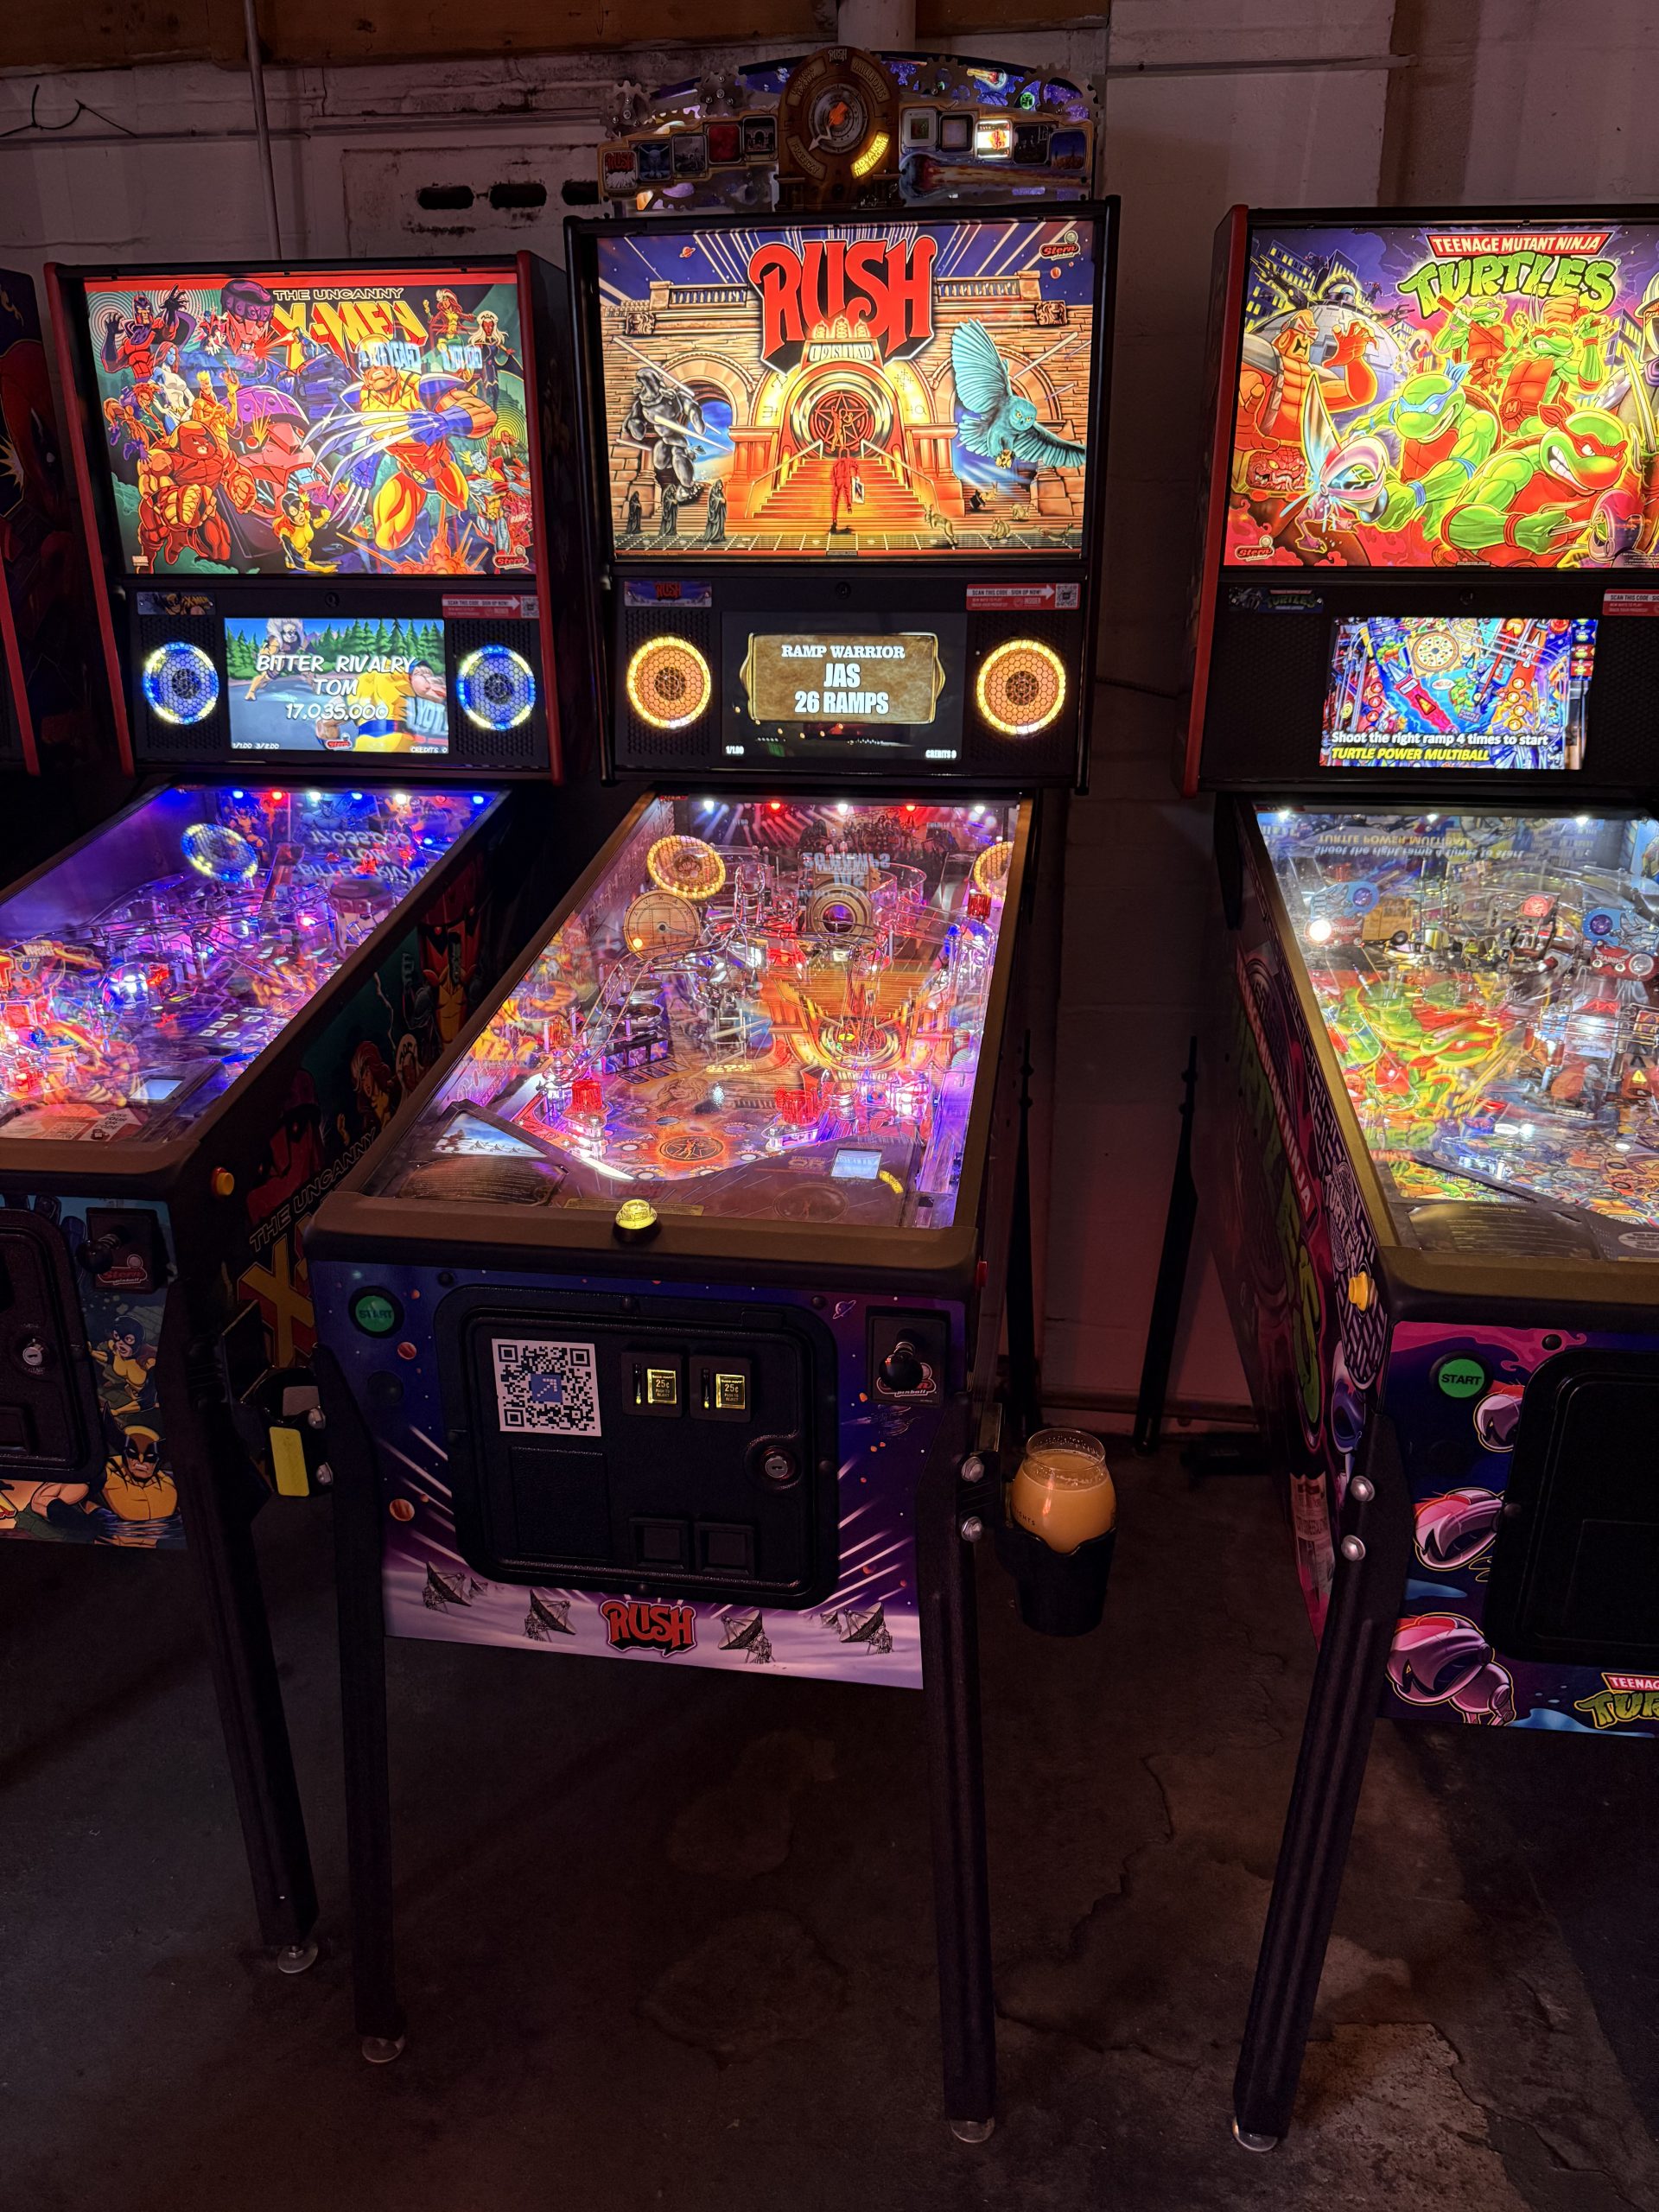
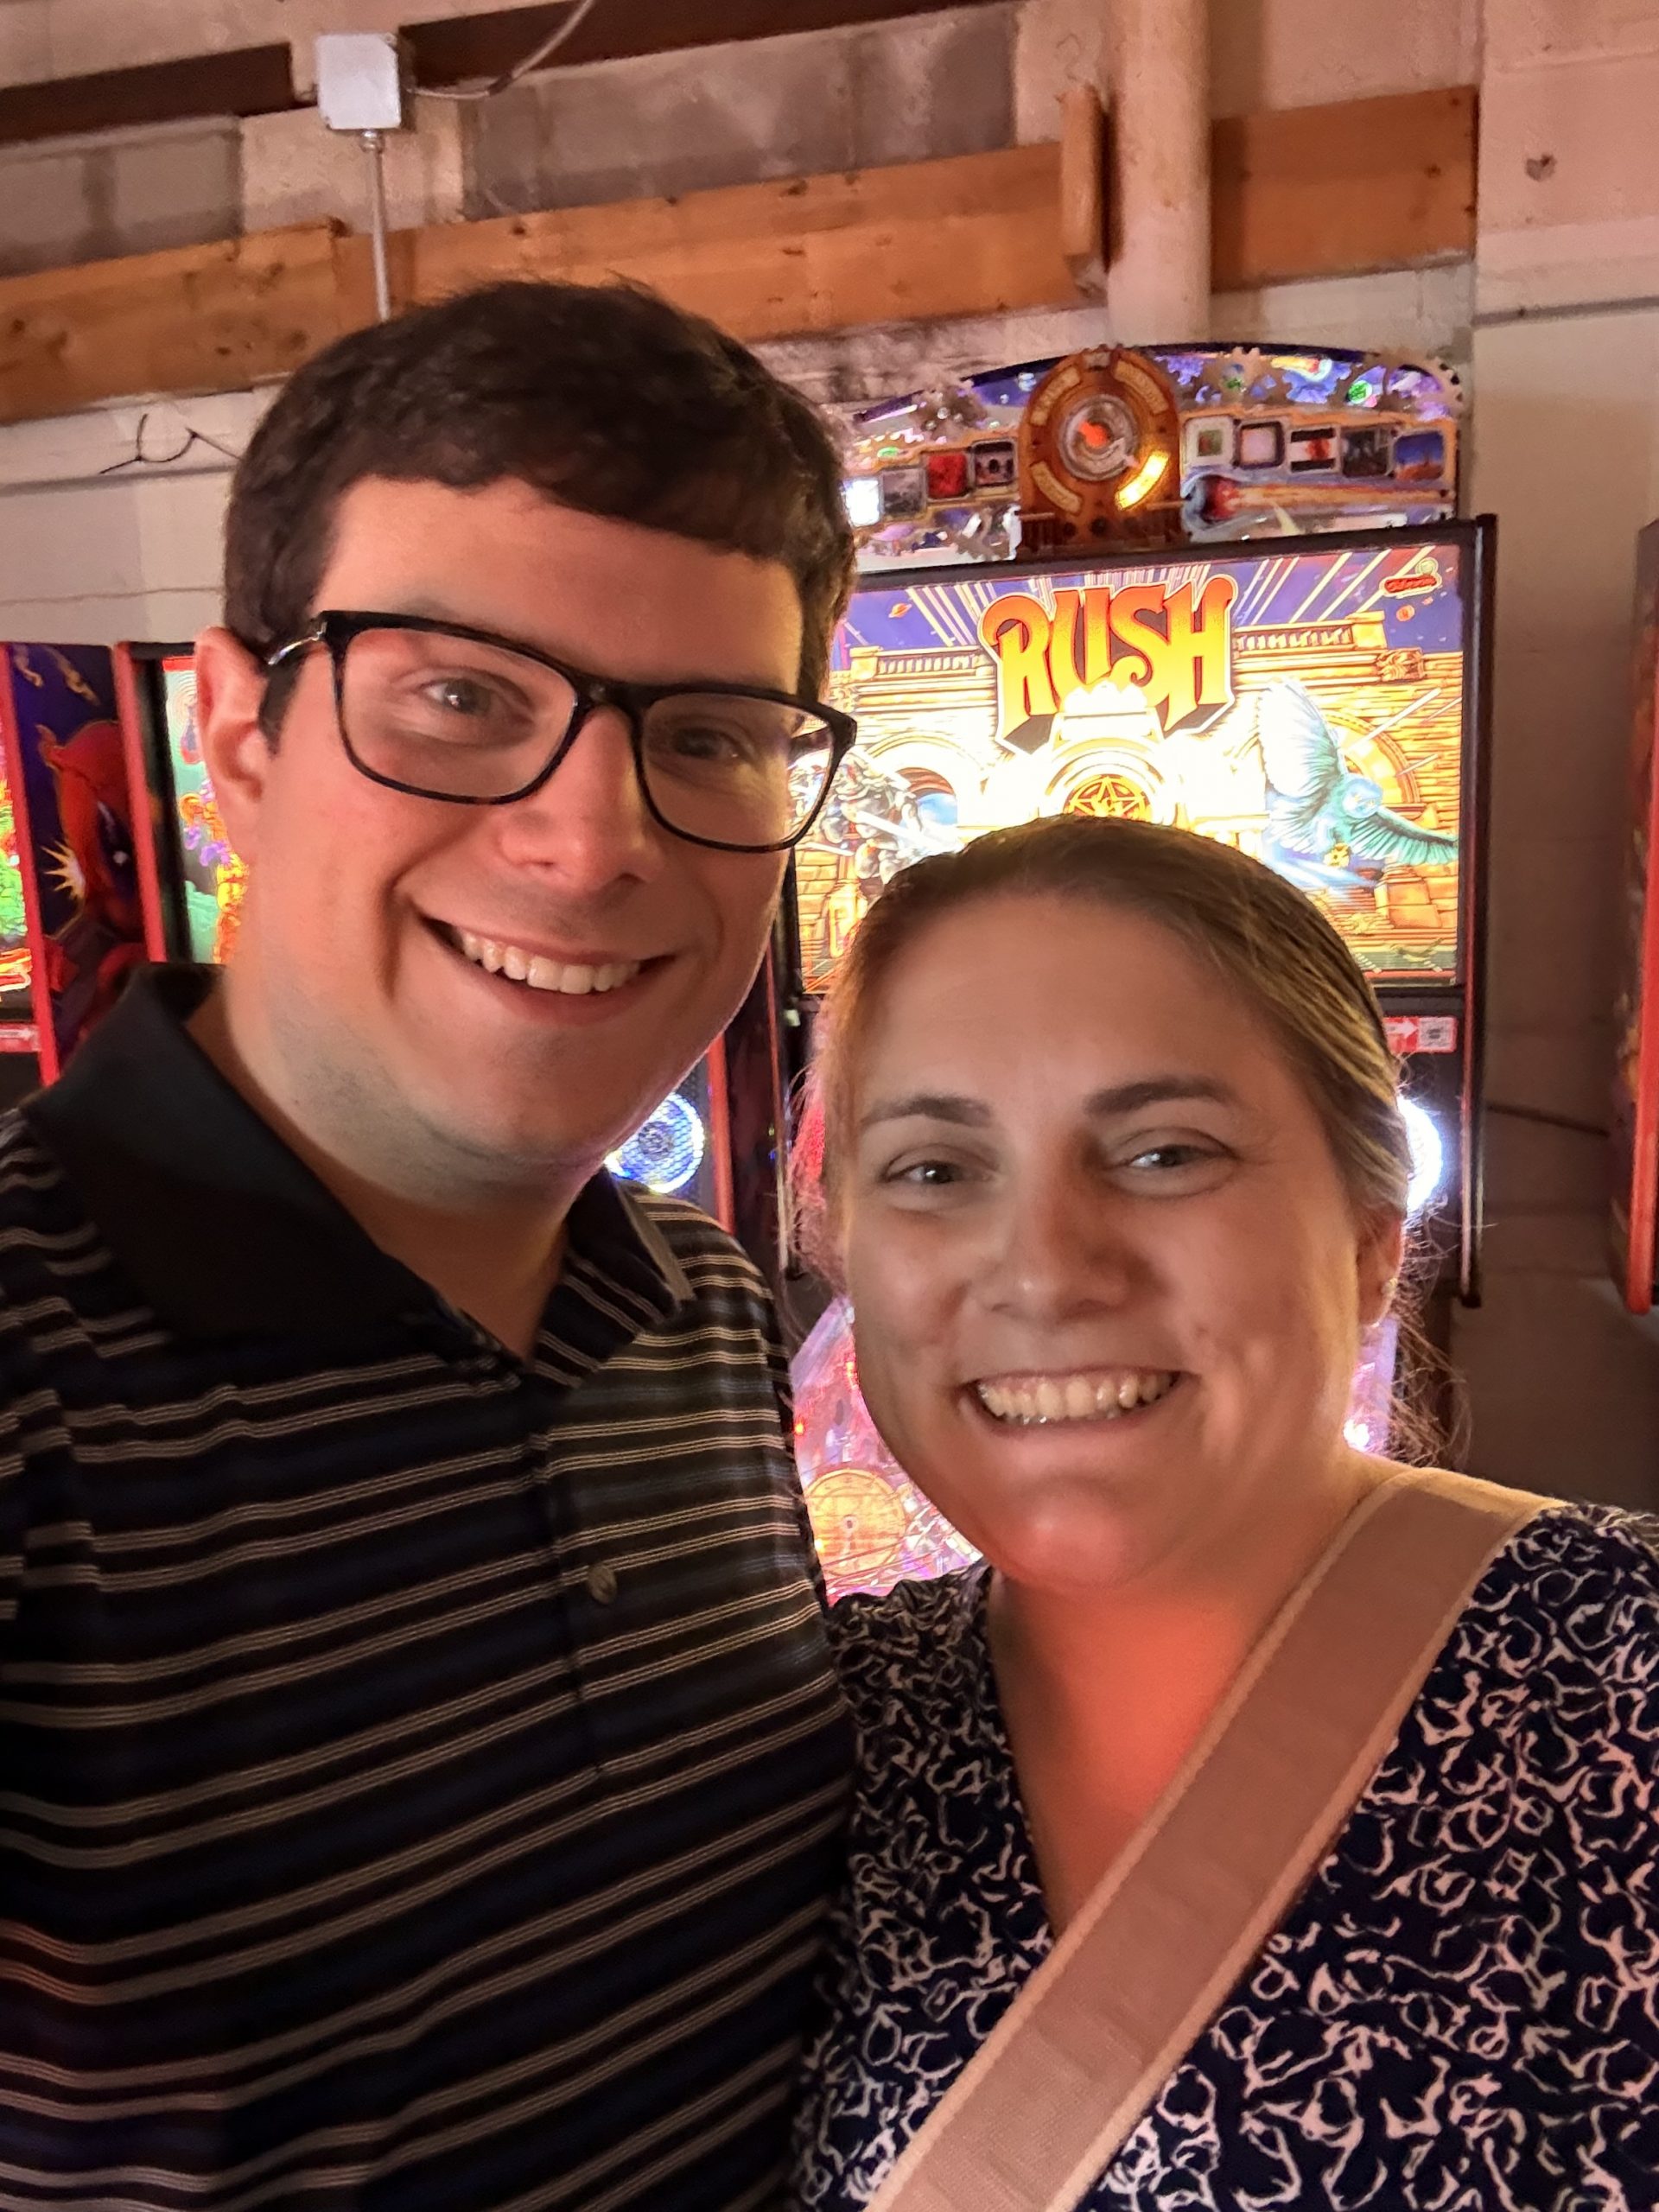
Last Monday Rachel and I were able to go on a date night which included hot pot and pinball machines. Rachel would like folks to know that she got the best score of the night. I’d like you to know the real winner was me, since it was the first time I got to play the Rush pinball machine at Peabody Heights Brewery.
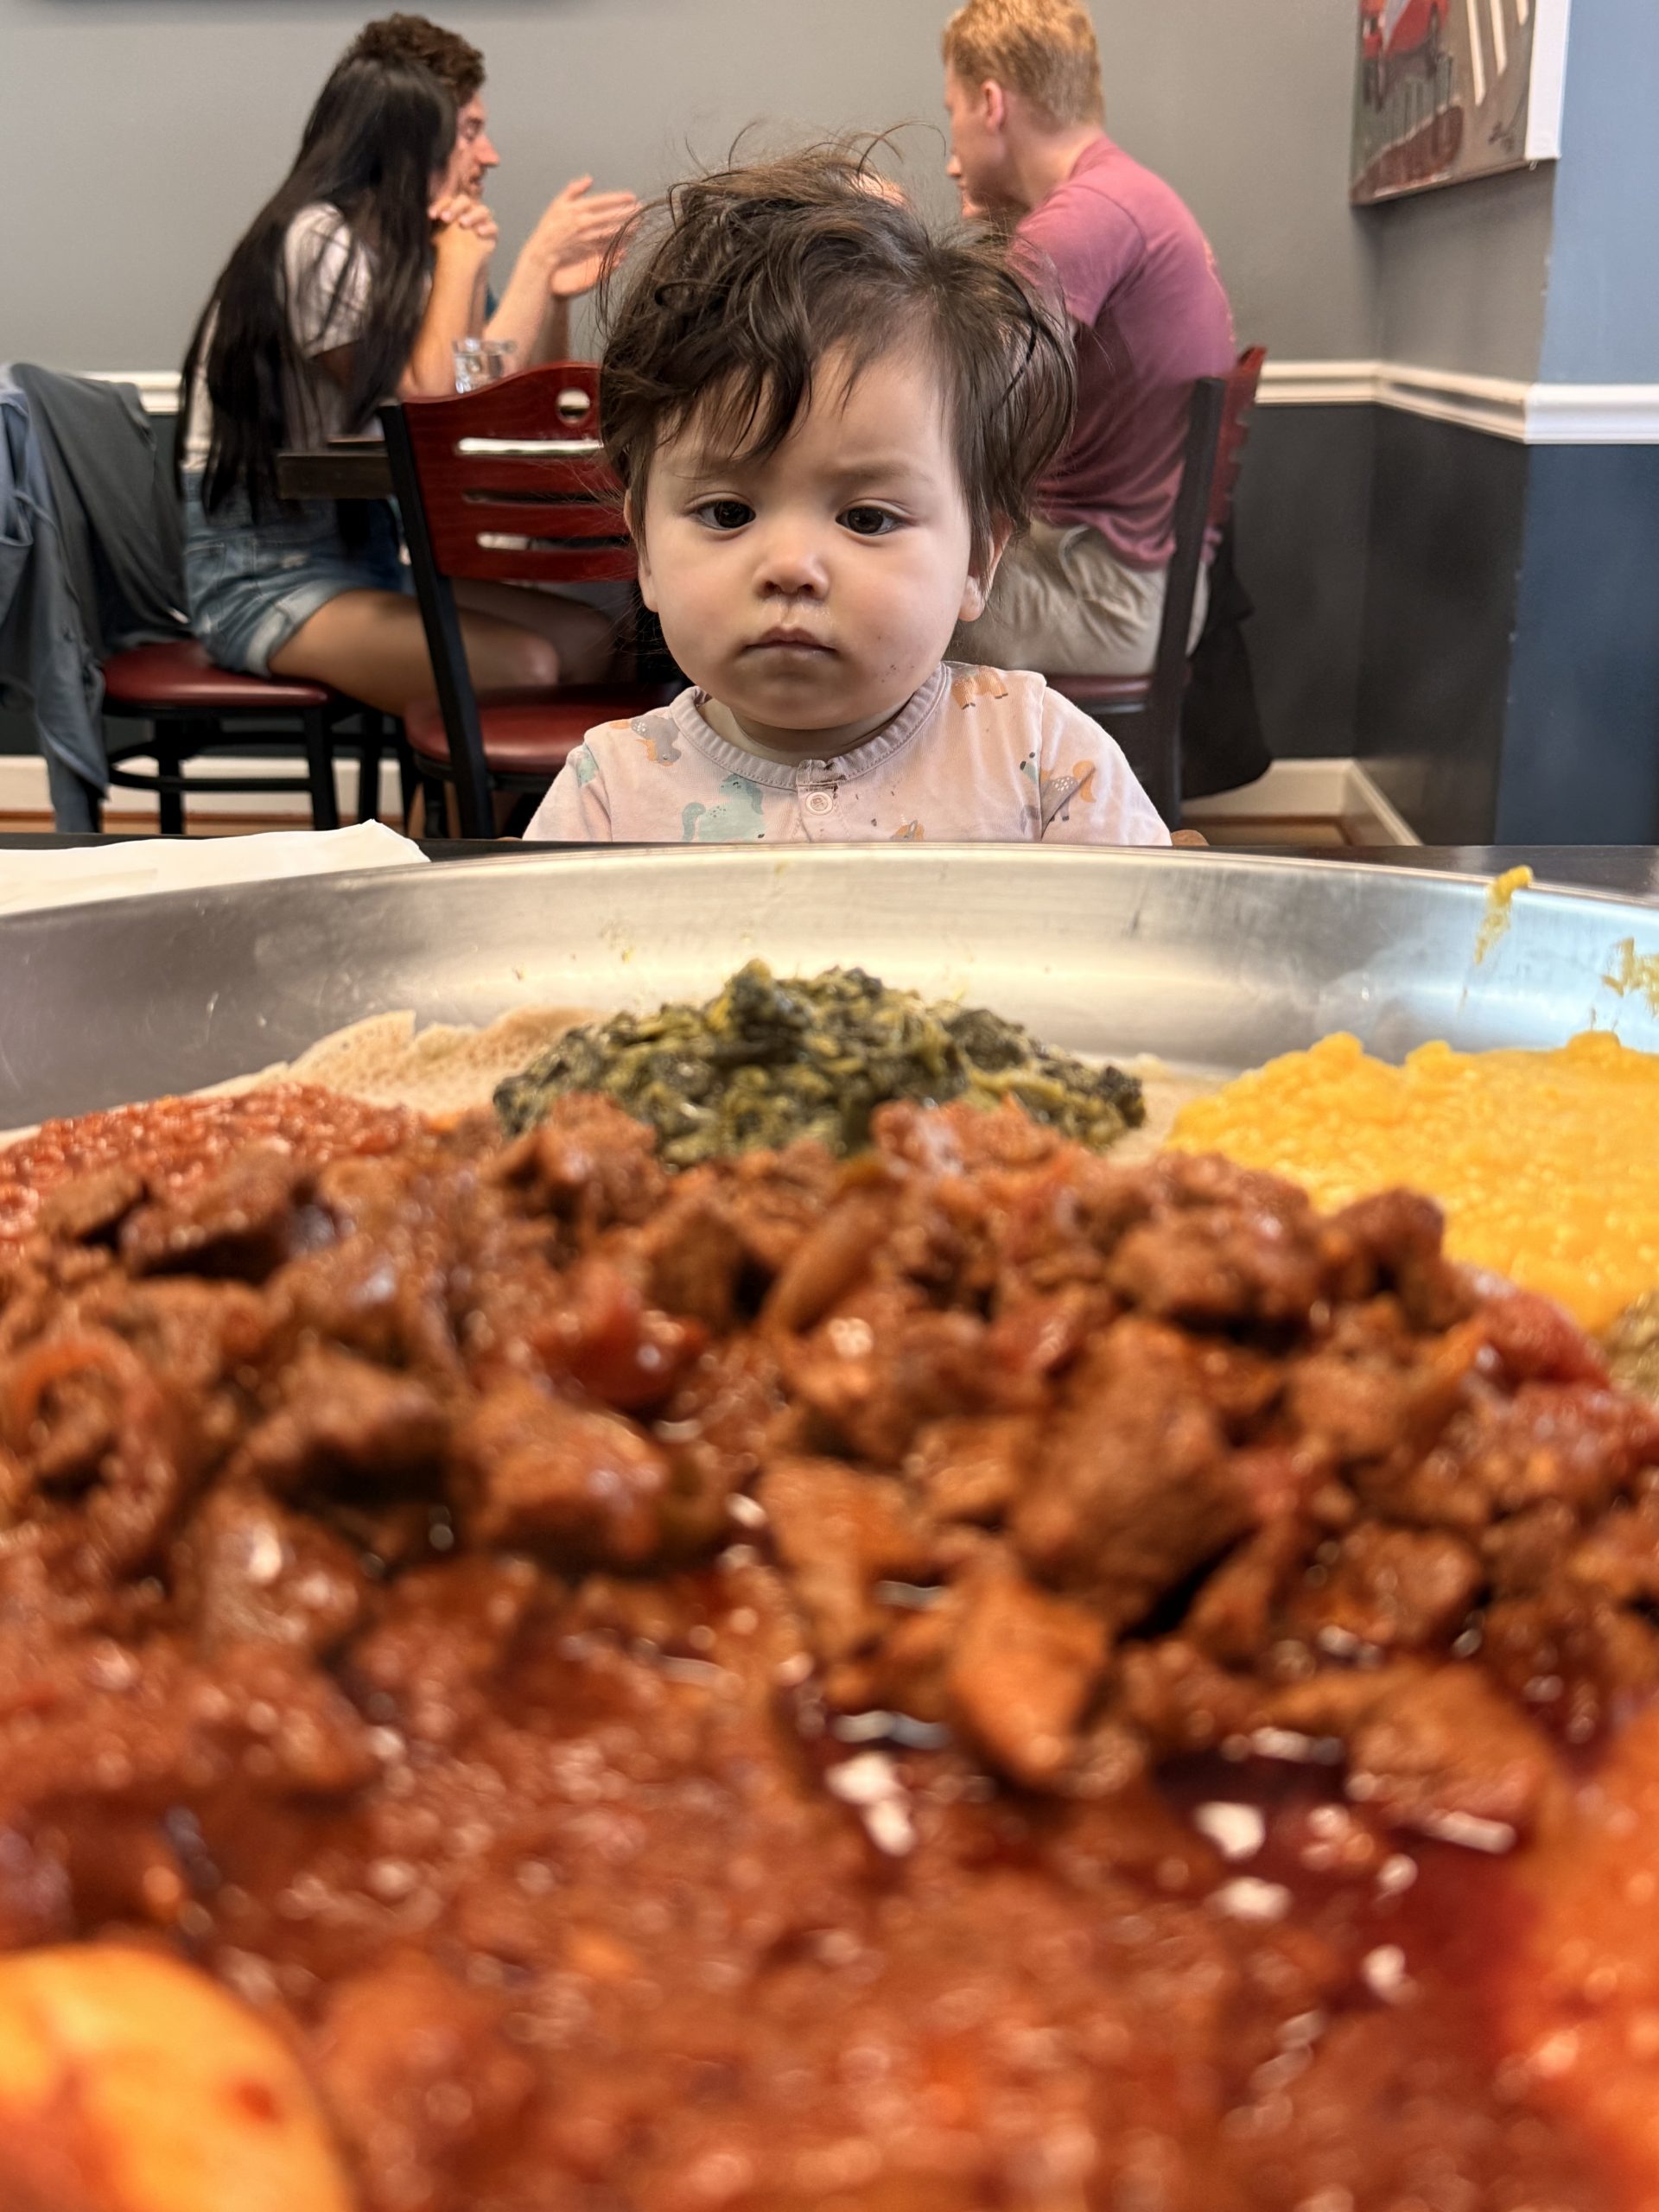
On Wednesday I went down to Reston to meet the folks based there on my new team and to also see some old friends. I skipped the evening traffic by getting Ethiopian with Clay Sharon and Poppy which was a total treat.
After getting home from Reston, I took a little nap before working a long call with colleagues from India from 1:30am-7:30am. This knocked me out, I even caught a nasty 24 hour bug that wiped out Friday. I did some podcast listening that day and one thing Ben Thompson said that stuck with me is “Facebook is Dead; Long Live Meta.” The Blue app and Instagram are shells of their old selves, just like Twitter. Constantly serving random reels and posts with phantom notifications about stuff you could care less about (Facebook is particularly bad about this). Meta is now an entertainment company trying to capture our time and attention and really I don’t want to give them any of it. I just wanna catch up with my friends. Start a blog man, I’ll sub to your RSS feed lol.
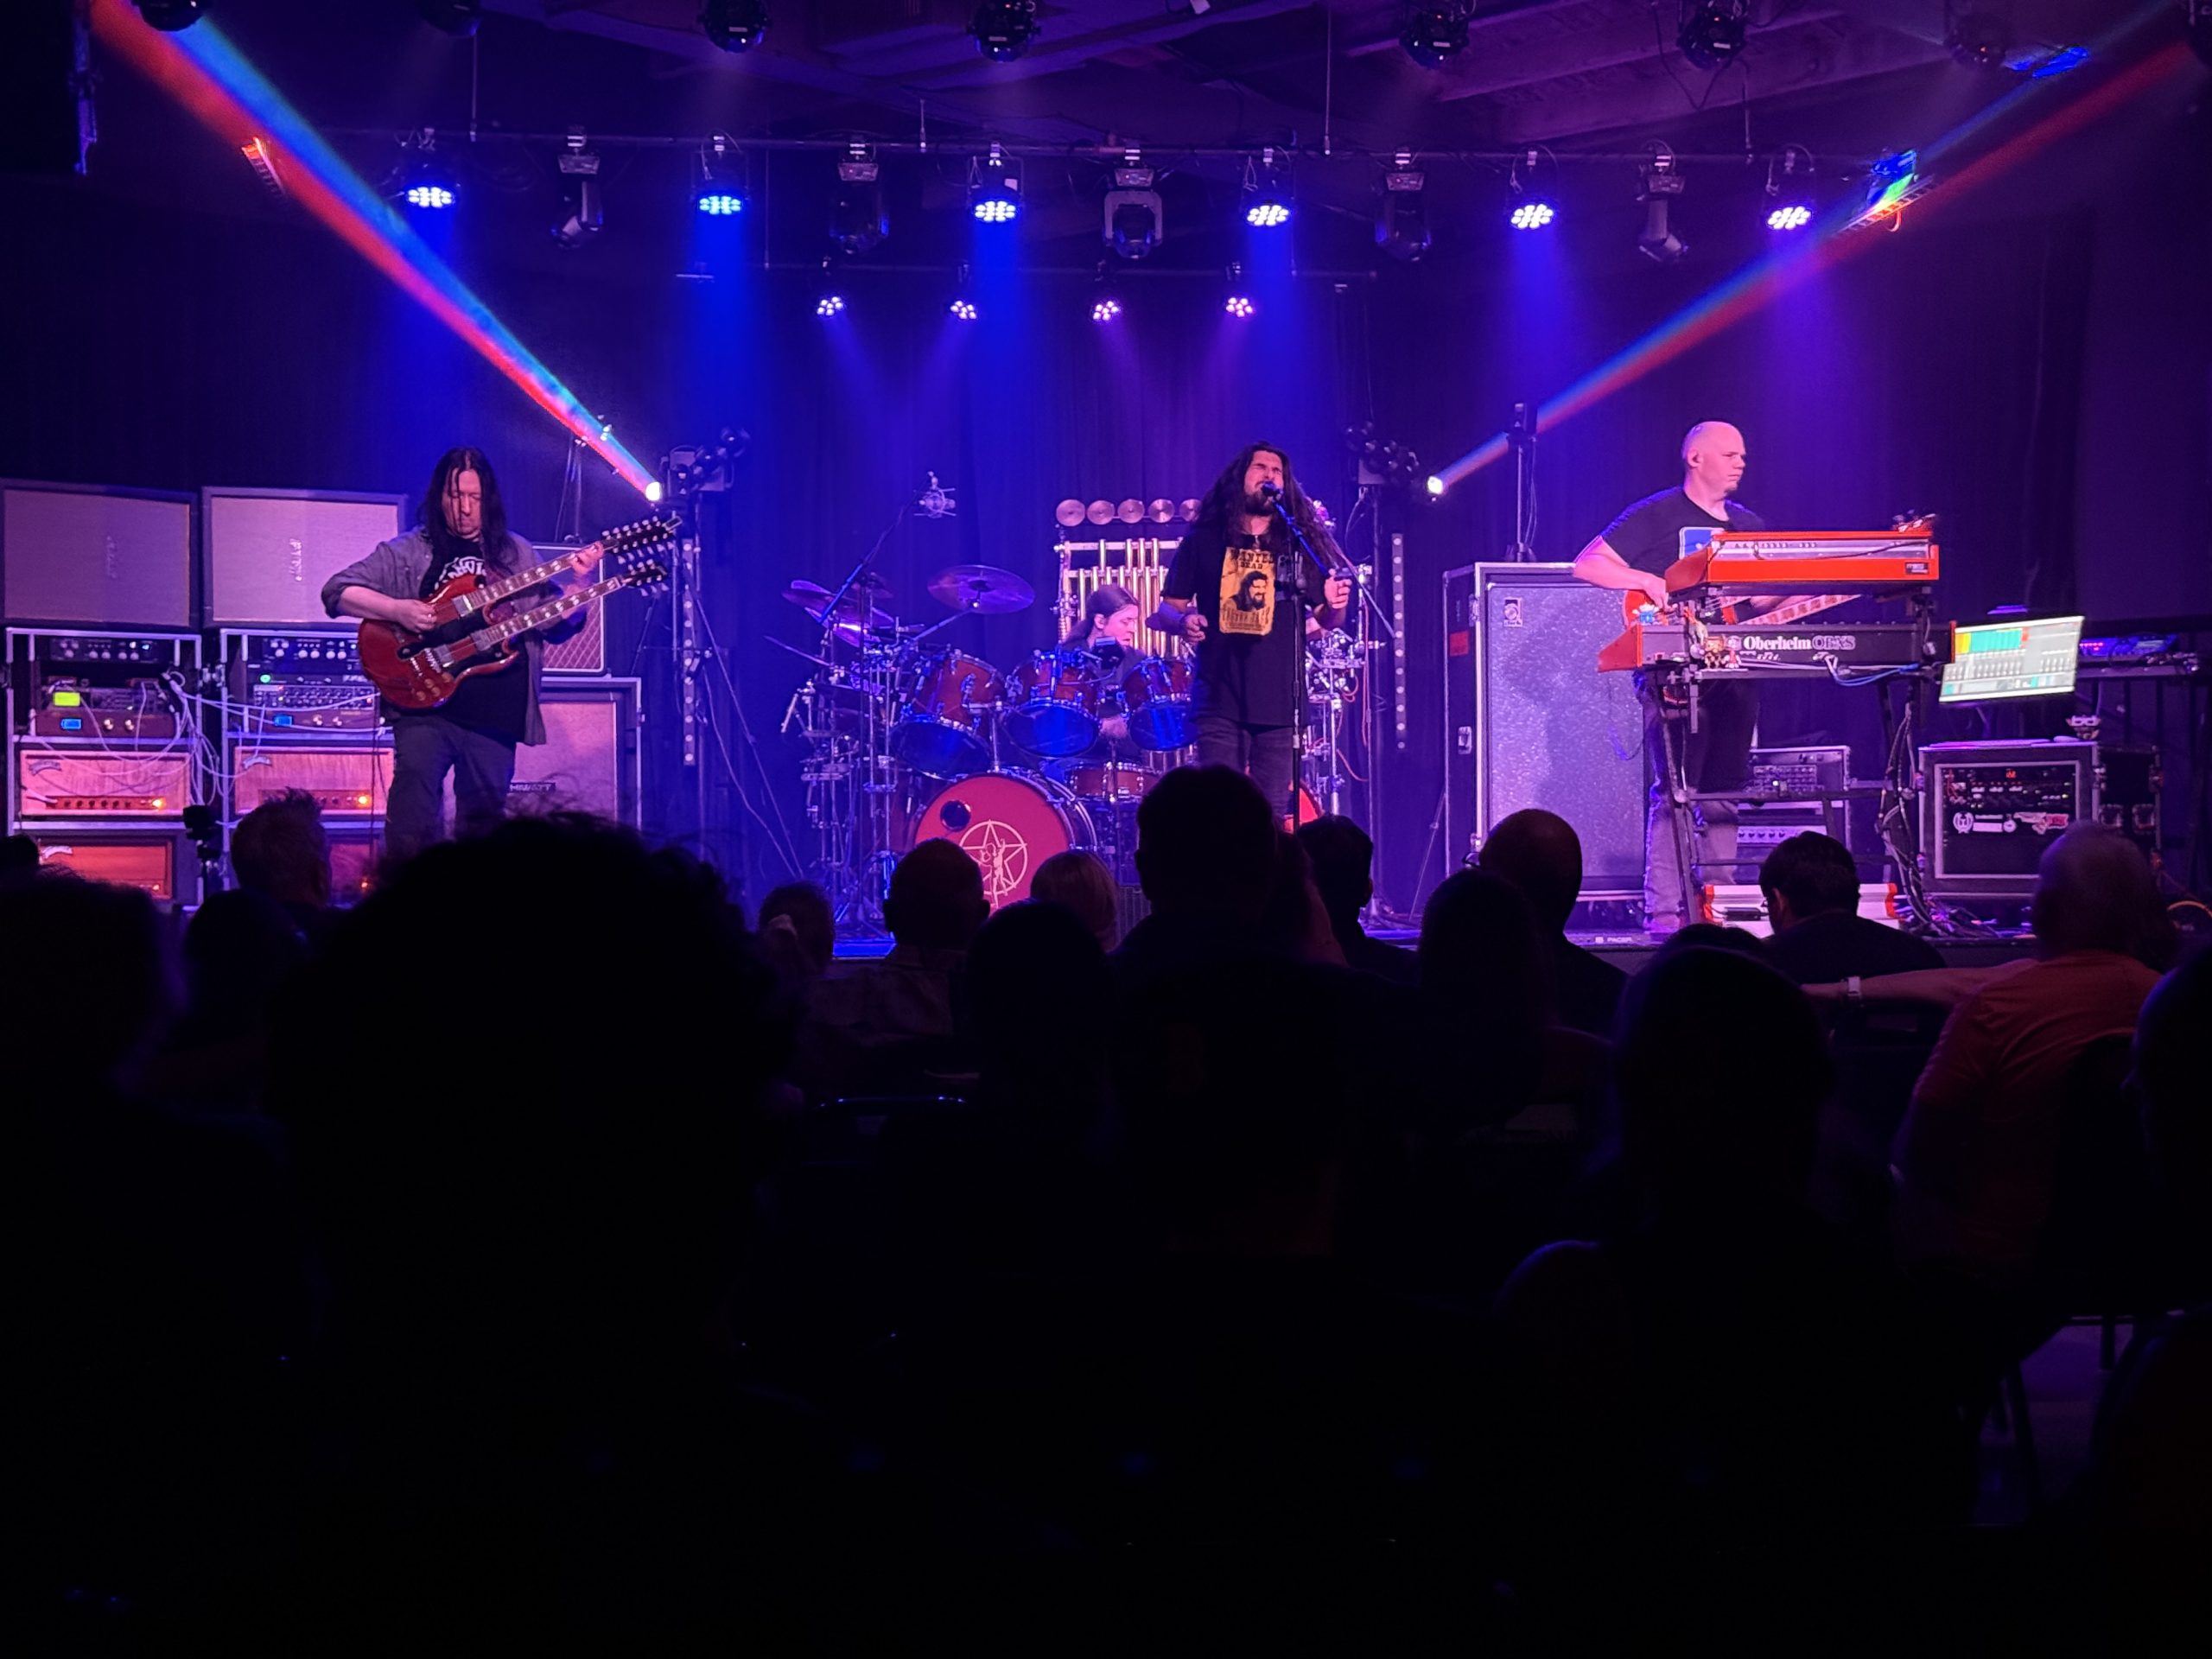
Luckily I felt much better Friday evening and Saturday wasn’t totally foiled. Because Rush > Cooper Rush, I watched 0% of the Ravens preseason matchup to see AF2K with Alice and Peter. What a delight. The drummer was an absolute animal and it reminded me just how good those darn Canadians were. I’ve been listening to Rush in the car ever since. Katherine seems to like Power Windows as much as her dad, which surprises absolutely no one.
Today Rachel’s extended family had a potluck so I smoked some chicken thighs following this recipe. I think it was fine but if I were to do it again, and I probably will, I’d sub this glaze with a gochujang based one. Or honestly skip smoking entirely as it doesn’t get too much smoke flavor in the time it takes to cook them.
Anyways, thats a bit of my last week. Welcome to The Show Dylan Beavers and Samuel Basallo! Keen to see what you and the rest of the young core can do with these last 40 or so games. Maybe I’ll even be able to see you both at your first game at OPACY.
I joined Ken this week to discuss how he scores offensive line play each week for the Ravens. He has been doing this for nearly two decades and I think he has quite a well measured approach. I was excited when he asked me to join the show as I requested a breakdown of his scoring system a few years ago.
iOS 26 Beta 3 Liquid Glass Regression
I anticipated Monday’s beta release as I assumed beta 3 would likely be the first to have a chance to update the Liquid Glass material after the initial feedback from developers. Disappointment would be an understatement – the light mode glass material is so incredibly frosted in some places it looks more like older materials than Liquid Glass. I run my phone in dark mode all the time, and luckily the glass updates there are a far better compromise. It almost feels like a bug how much they pulled back on the light glass material. Keen to see how the redesign settles down by the public release and over the coming years.
I’m so back?
Over the past month, I’ve been thinking about how I haven’t had a creative outlet for most of the year and how much I’ve missed it. With the social media landscape so splintered, I found myself not posting or even interacting with my feeds. I don’t see this as a bad thing, just a thing.
I think I am going to start to blog again and see where it goes. I’ll admit I was inspired by Myke Hurley’s wonderful new blog The Enthusiast. I expect to share what I’ve enjoyed recently and any online appearances I’ve made. I am really excited for my friend’s new podcast of which I was on the first episode. Word on the street is it’ll launch this week and I’ll share it when it does.
My previous post here was in anticipation for Apple’s spacial computing platform which we now know as Vision Pro. I remember how excited I was that day. A lot has changed since then.
Anyways, time to rip off the awkward bandaid of said comeback. Here’s some cool things I’ve enjoyed this week.
I think about how mobile computing, high speed internet, and competent cameras in a pocketable rectangle has reshaped how we consume and create news. It is a shame that algorithmic feeds are how many get the news these days. I think the intentionality of seeking a source or going to a website / RSS feed is something folks should consider practicing.
This is just neat.
Lastly, I went to see F1 in IMAX. It was the first movie I have seen in theaters since Spider-Man: Across The Spider-Verse. It was fun and I look forward to watching it again when it is available to stream on Apple TV+.
My Coffee Journey
This morning I made an impromptu piece of #coffeecontent that created a lot of #engagement from folks far and wide. Apparently folks are curious about making better coffee and I wanted to answer all the questions I received here.
Perhaps COVID-19 has prompted more people to look into making high quality coffee at home. This isn’t the first time I made a reference to my interest in coffee but for some reason this one really took off.
Gear
My coffee gear has been acquired over time. I first became interested in coffee when joining the workforce six years ago where drinking coffee was something that people seemed to do. That said, I quickly became disinterested in the industrial Burr coffee maker’s Folgers output and the would-create-brown-liquid-without-a-Keurig-cup approaches.
For a single cup, I recommend an AeroPress. It makes incredibly good coffee, is super portable, and costs 25-30 bucks. I’ll explain my technique later.
For more than one cup, I use a Chemex, a recent edition to my life. I used to just AeroPress back to back. The Chemex makes super good coffee and has some more ceremony which is always nice. I love watching the coffee bloom and release CO2 in the morning.
This summer, Rachel requested cold brew in the rotation. I got the Oxo Cold Brew dingus. I just follow its included brewing steps. 4 parts water to 1 part grinds for about 24 hours. I make my coffee by using 1 part concentrate, 3 parts water.
My water kettle is the Bonavita Gooseneck programmable kettle. This thing allows you to specify the temperature of the water, which is just as important with coffee as it is tea.
My grinder is a Baratza Encore. It took me a while to spend the money for it (130 or so), for a while I would get my beans ground when I bought them. However it was a good investment and does a great job creating a consistent grind size. You’ll find the deeper down the rabbit hole you go, the cheaper good coffee can get.
My kitchen scale is a Escali Primo Digital Scale. I mainly use it with Chemex. For the AeroPress I just use the scoop that came with it. I find it consistently gives me about 15 grams of beans, give or take a gram.
I just started to home roast and for that I use a 20 buck popcorn air popper. I first experimented with the one Rachel already had for popcorn, but bought the Sweet Maria’s recommended one from their website since its a different design that doesn’t require constant stirring. This is also where I get my beans. The popper comes with 4lbs of beans so its basically free since a pound of green coffee beans is about 5-7 bucks (much less than the 14-20 you’ll spend for pound of fresh local coffee). I plan to order another with my next shipment to parallelize my efforts. Sweet Maria’s provides a roast recommendation for each bean that you buy and I simply follow the instructions they provided with the Air Popper. They have a few supporting videos on their website you can watch too, if you decide home roasting is your thing.
Buying Beans
You probably don’t want to start your coffee journey roasting coffee. I never thought I would get into it until a friend of mine told me they started with an air popper and that it wasn’t that bad. I had always heard it wasn’t worth the hassle from those who had tried.
That said, don’t buy beans from the grocery store, unless they are local and have the roasted date on the packaging. Coffee is only fresh for about 2-4 weeks. Most of the stuff at the grocery store, no matter the cost, wasn’t roasted recently. Fun fact, the reason a lot of coffee in the store is darker roasts is because the freshness is less apparent since you’re mainly tasting those heavy roasted flavors and less actual coffee flavors.
I used to buy coffee from local Baltimore institutions like Zeke’s, Spoons, and Vent (my favorite). Silver Spring has less local options, but Nagadi is pretty good as is Bump ‘n Grind.
Rachel got me a gift of the Atlas Coffee Club a year or so ago. There are several similar ideas online but they mailed me a freshly roasted single origin (not a blend of beans) coffee at a set interval. It was a few bucks more than buying a local bag (19 per shipment) but I liked the convenience and variety, particularly since fresh coffee was harder to come by post move. I got to try probably 10-15 different country’s offerings from the program. I recommend this approach to learn the kinds of coffee and roast level you prefer. I like Kenyan, Ethiopian, and Columbian best and always a lighter to medium roast.
I just want to note that even if you buy a 20 buck bag of coffee, its still cheaper than a K cup, no matter how much bulk you buy in.
Brewing Techniques
AeroPress
For the AeroPress, I do the inverted technique. That link shows the general steps, but I have experimented and changed the values. If you wanna do the same, there is a cool app called AeroPress Timer that gives you various recipes. I heat my water to 176F, which is the AeroPress creator’s temperature of choice. This results in an instantly drinkable cup – I don’t like my beverages too hot. I grind the AeroPress Standard scoop of beans at the Encore’s 12 setting, which is relatively fine. I pour enough water to just cover the grinds, swirl it around using some “turbulence” (or just use the paddle) for about 15 seconds. Then I fill up the rest of the chamber with water. Attach the cap with a standard AeroPress paper filter and wait a minute. Invert, press into cup, and enjoy.
Chemex
For Chemex, I warm my water to 205F. This is within the Chemex recommended temperature range. Since it takes more time to make a Chemex cup, this temperature also results in an instantly drinkable cup. I do the 15:1 ratio with the Chemex, adding 15 parts water to each part bean. I use 15-20 grams of coffee per person at the 20 Encore grind size, which is more of a medium grind. I add a little bit of water to dampen the paper filter and heat up the device before putting the grinds in. I swirl the water, pour it out, and then start my measurements using the kitchen scale. Once the water has pretty much finished going through the grinds, you can throw out the filter and pour your coffee into a mug to enjoy.
Japanese Iced Coffee
I was introduced to the concept of Japanese Iced Coffee in June and it was a go to recipe to use instead of cold brew in the summer. I thought the taste was a bit more punchy than cold brew, but it might have been the beans I was using. I followed this recipe.